How to: Install and Care For Your Nest Box
Now you’ve bought your new bird box you’ll need to know where it should be placed and how to keep it in good condition.
To give your feathered friends the best chance of breeding successfully, nest boxes should be sited away from areas where they might be disturbed during nesting. Don’t be tempted to “check” the nest box during the breeding season (March to September). Active birds' nests, their eggs and young are protected by law, it is illegal to interfere with them in any way during this period.
Cleaning your nest box:
Between September and January. Be certain that the nest box is not in use before cleaning.
Wearing gloves, take down the nest box (be careful when working at heights) and remove old nesting material including any eggs that have failed to hatch or dead chicks. (This may sound gruesome but it is all part of the natural breeding process of many birds.)
Scold the box with boiling water in order to kill any parasites. Give it a scrub with a stiff brush then allow to dry fully before reinstalling the box.
Tips for installing your nest box:
Make sure it is out of reach of predators, such as cats and away from perches or branches that could be used to access the box. In the case of the Robin box – it needs to be hidden within ample cover to disguise the nest box from predators.
Do not situate the box too close to bird feeders. The adults will have to spend more time defending the nest from other birds than raising their young.
Keep away from direct sunlight. North-east facing is best as it means the nest won’t get too hot. Eggs and chicks can very easily overheat if the nest is subjected to a lot of midday sun.
Below are some more specific tips on how to install various nest boxes:
Blue Tit
Height: 2-4 metres
Placement: on a tree or wall with a clear flight path into the entrance hole.
Direction: entrance hole facing North-East, out of direct sunlight, sheltered from prevailing wind and rain
Robin
Height: below 2 metres
Placement: hidden in vegetation such as a hedge or a climber e.g. ivy.
Direction: entrance hole facing North-East, out of direct sunlight, sheltered from prevailing wind and rain
Sparrow
Height: 2-4 metres (Can be higher if needed e.g. under eaves)
Placement: on a tree or wall with a clear flight path into the entrance hole. House sparrows nest in colonies meaning multiple boxes can be placed close together - 6 -12 inches apart is a good distance.
Direction: entrance hole facing North-East, out of direct sunlight, sheltered from prevailing wind and rain
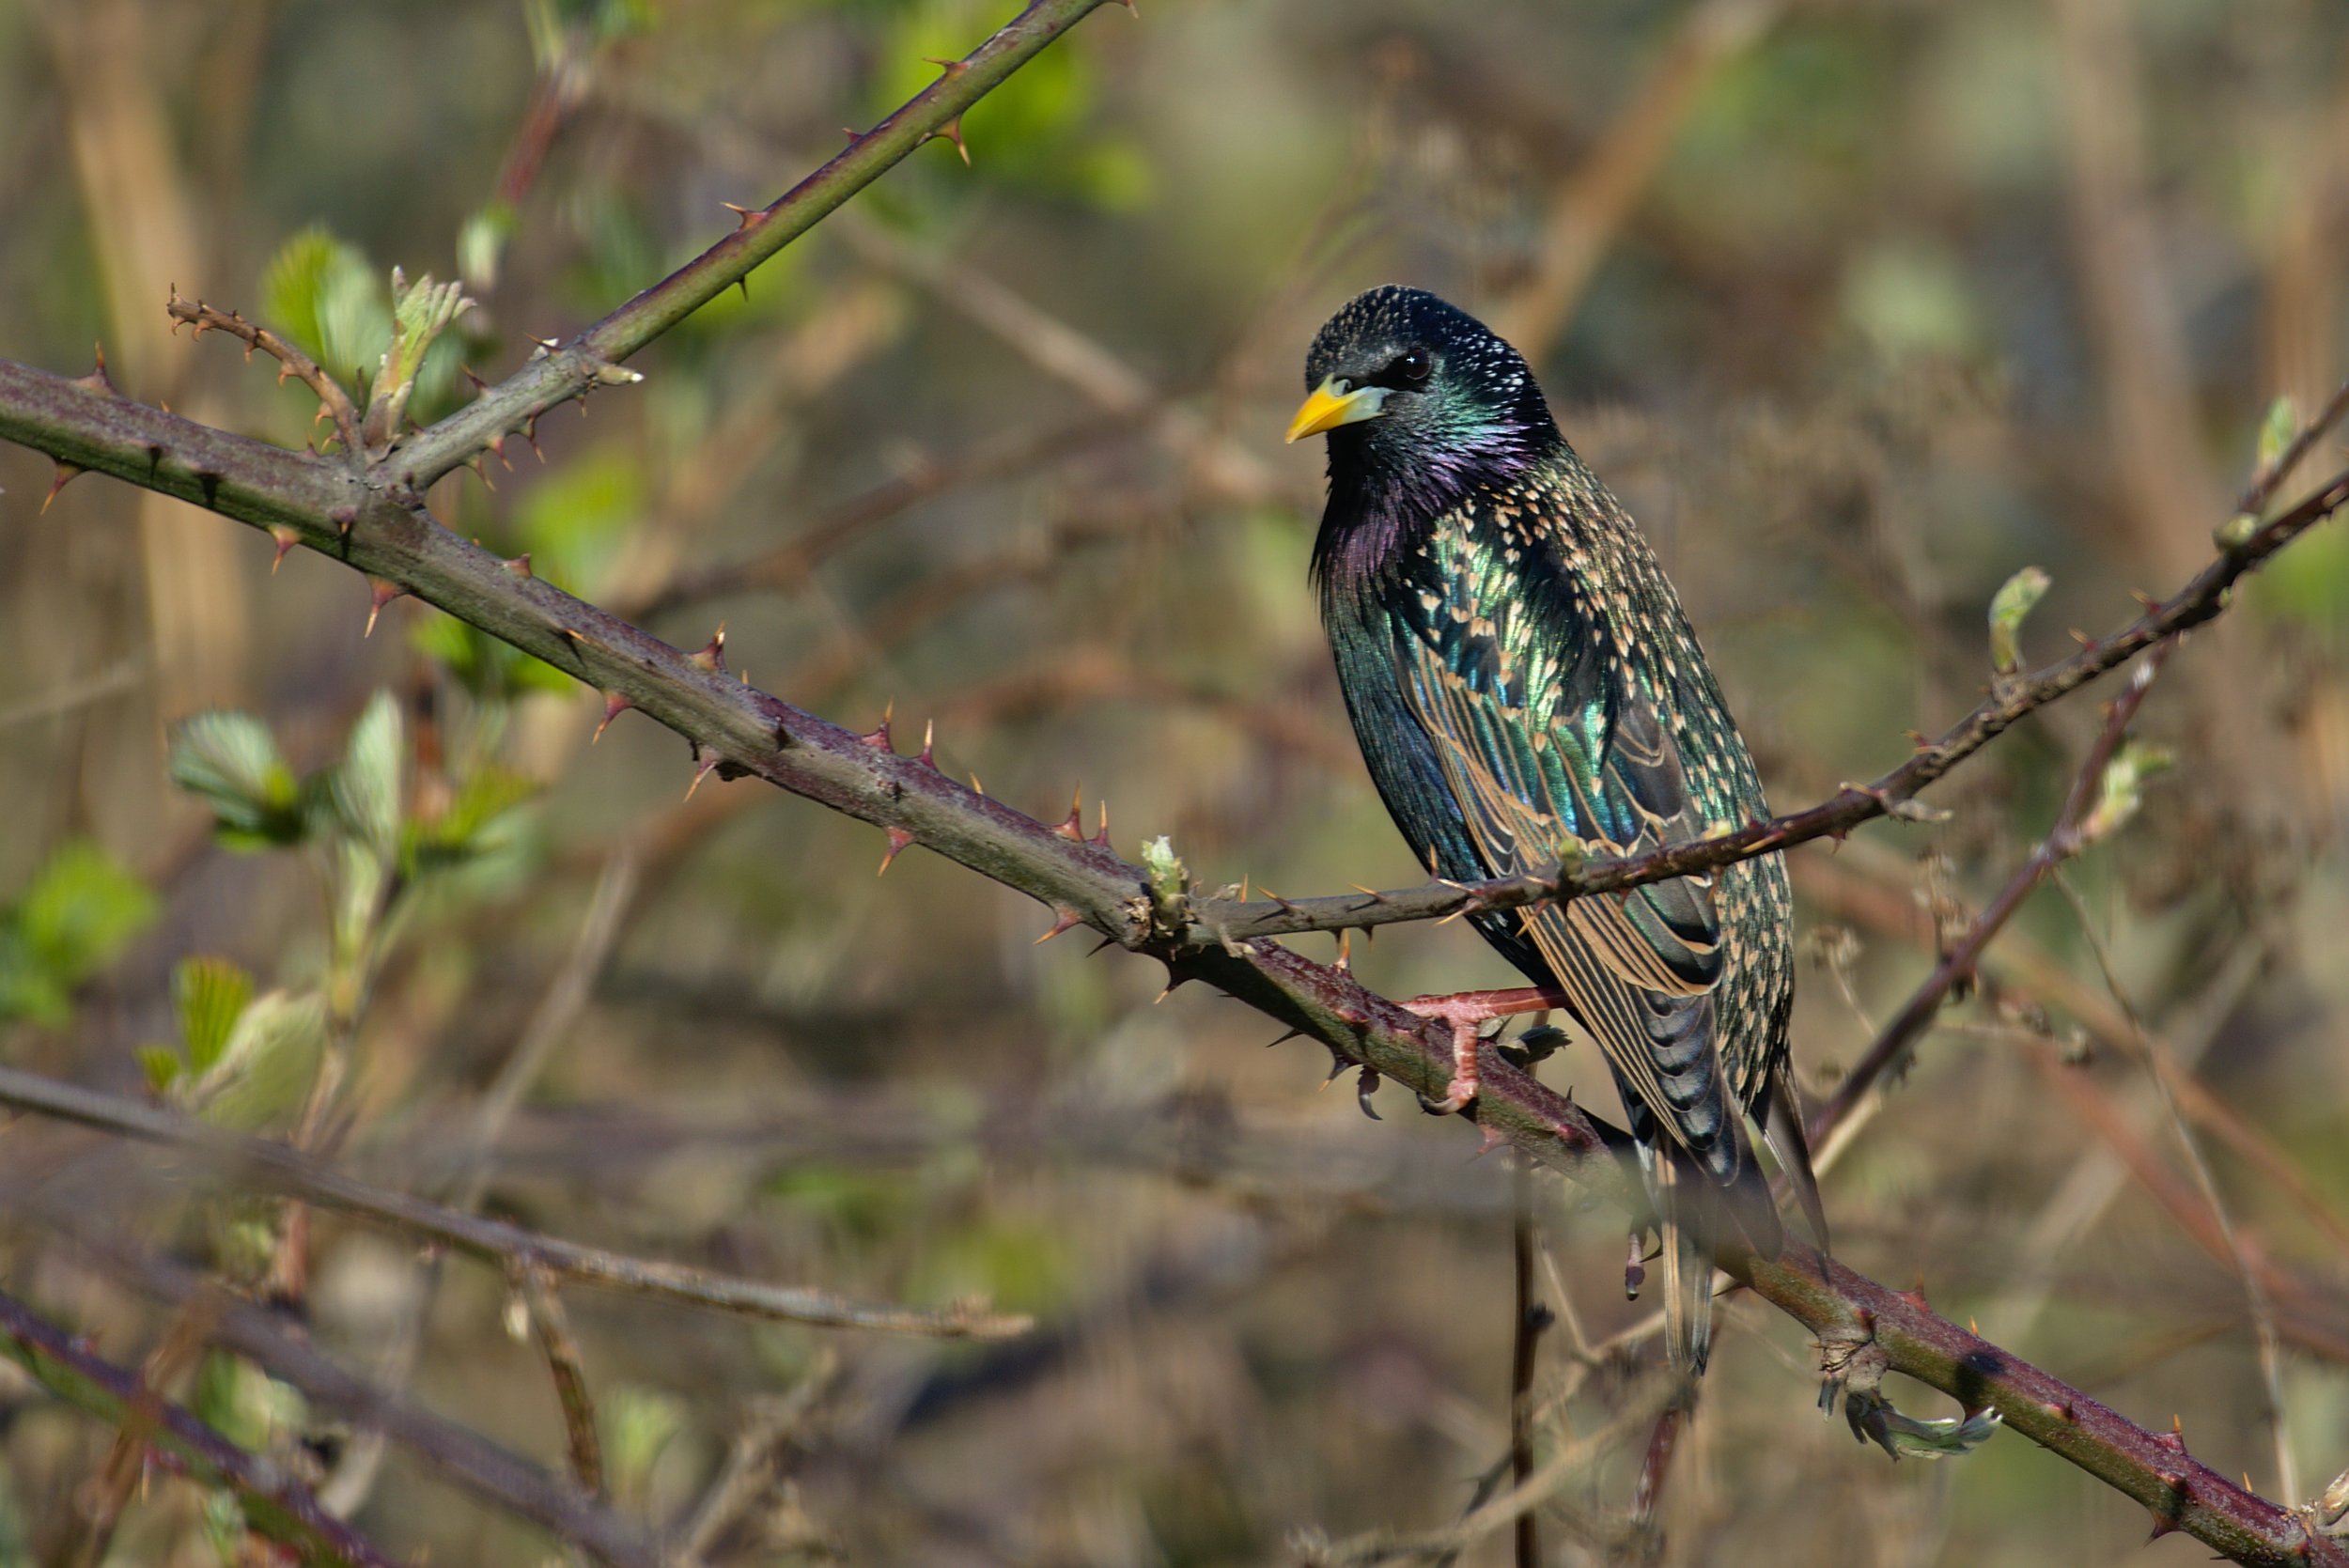
Starling
Height: 3+ metres
Placement: best placed under the eaves of house or on a mature tree with a clear flight path into the entrance hole. Starlings nest in loose colonies so multiple boxes can be placed near to one another.
Direction: entrance hole facing North-East, out of direct sunlight, sheltered from prevailing wind and rain
Swift
Height: 4.5+ metres (under eaves or high up a wall is good)
Placement: under the eaves of a building or high up a wall with a clear flight path into the entrance hole. Swifts nest in colonies so multiple boxes can be placed near to one another. Make sure there is no chance of disturbance or perches that could allow predation from cats, squirrels, magpies etc.
Direction: entrance hole facing North-East, out of direct sunlight, sheltered from prevailing wind and rain.
Cleaning: swift boxes don’t need cleaning out. Swifts traditionally nest in holes and crevices in rocks, using the same nest year on year. If however, another species, such as sparrows, happen to use the swift box, it will need cleaning out between October and January.
If you have any questions regarding installation or care of your nest box, please feel free to get in touch .


